-
Posts
838 -
Joined
-
Days Won
136
JoshQ's Achievements
Single Status Update
-
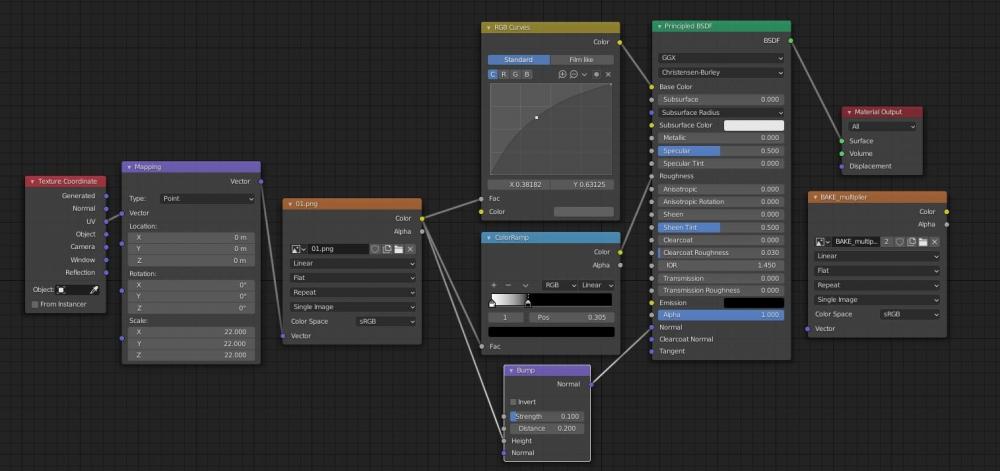
This is the node setup for Viper, nothing spectacular although it worked pretty well for making several textures from a single 512x512 tile.
Some notes:
- The ‘RGB Curves’ node allows two things: changing the image to “neutral gray” using the ‘color’ slot and then modifying the contrast using the curve, more or less like photoshop does
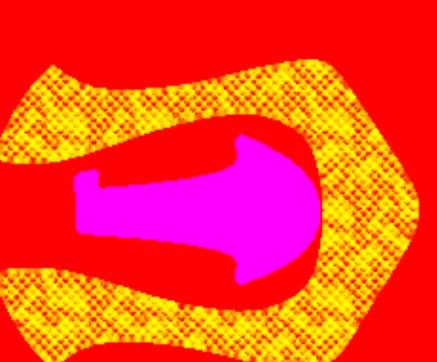
- The ‘ColorRamp’ node, when connected to the ‘roughness’ was used to determine which sections of the texture where shiny or opaque, also I used it for the mask (not showed here) because you can add your own colors in this case I use it to change the dark scales to red and the bright to yellow:

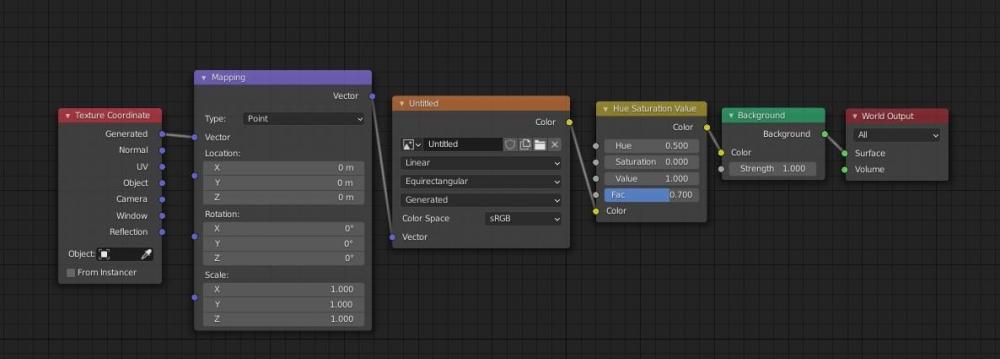
This is the node setup for the environment texture (aka hdri):
- I used the ‘Hue Saturation’ node to make the hdri “gray” by moving the saturation to 0, this is because an hdri not only provides light information but also color and for this game your textures must be grayish
-
And finally I also reduced the
‘factor’* because initially the resulting texture was a little bright, ‘dds dxt1/dxt3‘ compression introduces artifacts when dealing with high contrast and small details
*what needs to be reduced is the ‘strength’ on the ‘background’ node


